Whether you're a long-time collector of fine art or a beginner, there are several things you should learn about how to light wall art.
To light wall art, select an appropriate type and color of light. Find the desired lighting position and mount a fixture matching your goal. Use lighting to accent artwork at the correct times of the day. Invest in lighting that compliments the piece and assess if new techniques are appropriate for your space.
Incorrect lighting can, at worst, damage a piece of art or, at best, reduce your enjoyment of the work. Good lighting can protect and even increase the selling price of the artwork.

1. The Importance of Lighting
An art piece can express so many feelings, thoughts and be received in so many ways. But having an art piece stand in the shadows is like listening to music without sound. Giving your art piece the light that suits it the best will enhance the experience.
As an art collector or an art piece owner, you decide how people will experience and appreciate the art. Giving it extra light can brighten the art piece's feeling or give one piece more attention than other pieces. Lowering the lighting intensity provides the artwork with a moody, mysterious, or dark tone.
You do not only control the viewer's experience of the art piece by lighting it, but the lighting can also affect its quality. Incorrect lighting can damage your wall art in the long term.
2. Types of Light
A light's source is another consideration. Generally, light is considered natural or artificial.
Avoid both direct and indirect natural light when lighting your treasured wall decor. Having your wall piece exposed to the infrared and UV light spectrums from a natural light source will eventually cause artwork to fade.
Also, avoid mixing natural light with artificial light. Don't forget that natural light that shines through the window will move with the sun. Keep this shift in mind when placing your art piece on a wall.
When it comes to artificial light, you want to understand the different qualities of legacy incandescent, newer compact fluorescent, and modern LED bulbs.
- Incandescent bulbs will give a warm and comforting light. While they do not weigh much, they consume a lot of energy with a high wattage and shorter lifespan. Some advise against using exposed incandescent lamps because the heat can cause the paint to crack or fade with time.
- Compact fluorescent bulbs take one-fourth of the incandescent bulb wattage. They cost more when purchased but live longer than the previous generation bulbs, saving electricity and money. However, these can be hard to use as spotlights and are more suited for ambient lighting.
- Halogen bulbs are much more compact but give off a lot of heat and are a step backward over CFLs in efficency. They produce a nice bright light more appropriate for antiques and smaller objects than wall art.
- Light-emitting diode or LED bulbs are energy-efficient, long-lasting but have a wide range of prices and quality. Poor quality LED light creates a pale and white light. So, make sure that the one you choose has a color temperature of 2,700K and a CRI of 95 or above.
- Odd Choice: It won't come up much, but there might be a scenario where neon lighting is the correct choice for your application.

Whatever you choose, make sure that you create an even coverage of light. We don't want to add any shades or unwanted patterns to a beautiful work of art. We want to present it in the best way possible.
3. Lighting and Colors
Lighting and especially the color of the light can change the viewer's perception of your wall art. An ashen and white light can easily wash away bright blue and red colors. And a hot color light can make white paintings seem more orange.
Ideally, you want to use the same light the artist used when creating the piece. If possible, strike up a conversation with the artist about the light used in their room during the creative process. Generally, artists love to explain their methods.
A safe bet is to use low-to-medium light intensity from a full-spectrum, artificial source. This lighting setup will ensure you're not favoring any specific part of the spectrum and presenting the artwork in a neutral and organic tone.
4. Choosing the Right Size
After selecting the right light, we need to consider placement. We want illumination to help viewers enjoy the piece of art.
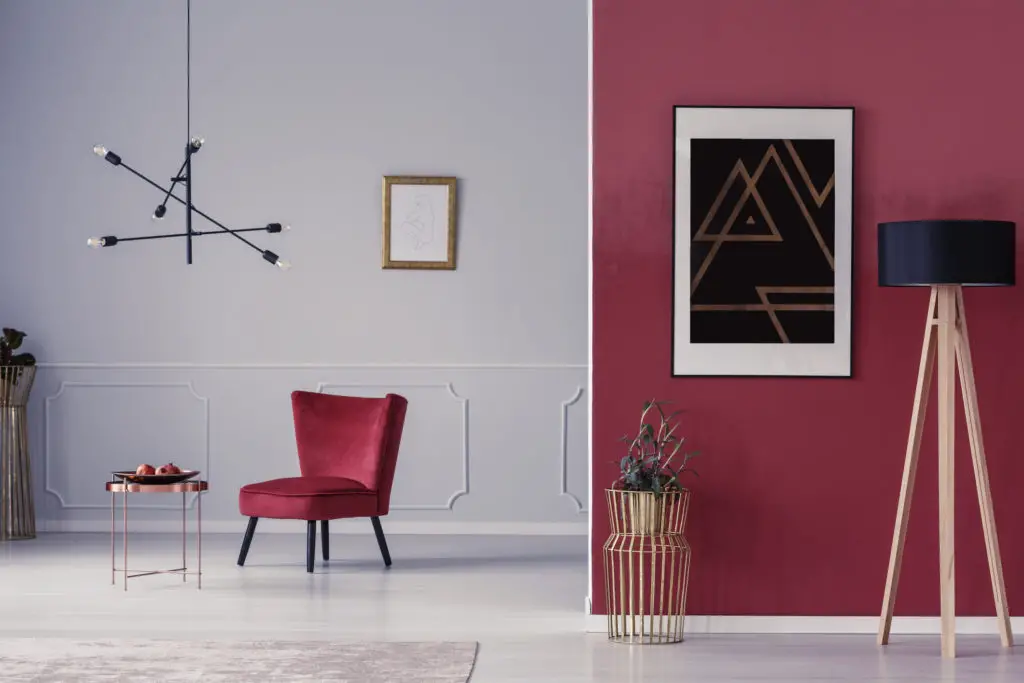
Your lighting fixture should be a background component of the art experience. Keep it small and unobtrusive, so it doesn't draw attention. You can even hide the lighting source by matching the frame color to the color of the lighting fixture. Alternatively, you may choose to mount lighting in the ceiling, for example.
When planning your lighting location, remember to install it to provide even coverage to the wall and the art's surface.
Pro Tips:
- A single piece of art may require more than one illumination source.
- Online shops specializing in lighting have high-tech tools to help you visualize fixtures before you buy. For example, Perfect Picture Lights has a virtual demo room. You can upload a photo of your wall and artwork. Then the tool allows you to play with various lighting overlayed on your art display.
5. Consider the Artwork's Surface
Your wall art might not have an even surface. For example, oil or acrylic paintings generally have uneven surfaces due to brushstrokes. On the other hand, watercolors or illustrations maintain the same evenness as their surface medium.
When you position your lights, you want to make sure that you get the desired effect.
Sometimes you want to enhance the brushstrokes by lighting the piece only from one direction. Having the light coming from one direction will create small shadows, enhancing an uneven surface. Viewers are encouraged to take a closer look at the art piece to inspect the brushstrokes.
Other times, lighting artwork from only one direction can disturb the desired expression of the piece. To avoid shadows on the surface, you want to light the work evenly with the room's light. This arrangement requires multiple light sources and from different angles.
6. Mounting and Powering Light
Next, consider a proper mounting strategy for securely placing your lights.
As you have found the direction you want to light your wall art from, consider these tips:
- Focus ceiling-mounted lights on the center of the artwork. The closer you place the ceiling mount to the wall art, the longer shadows will be created.
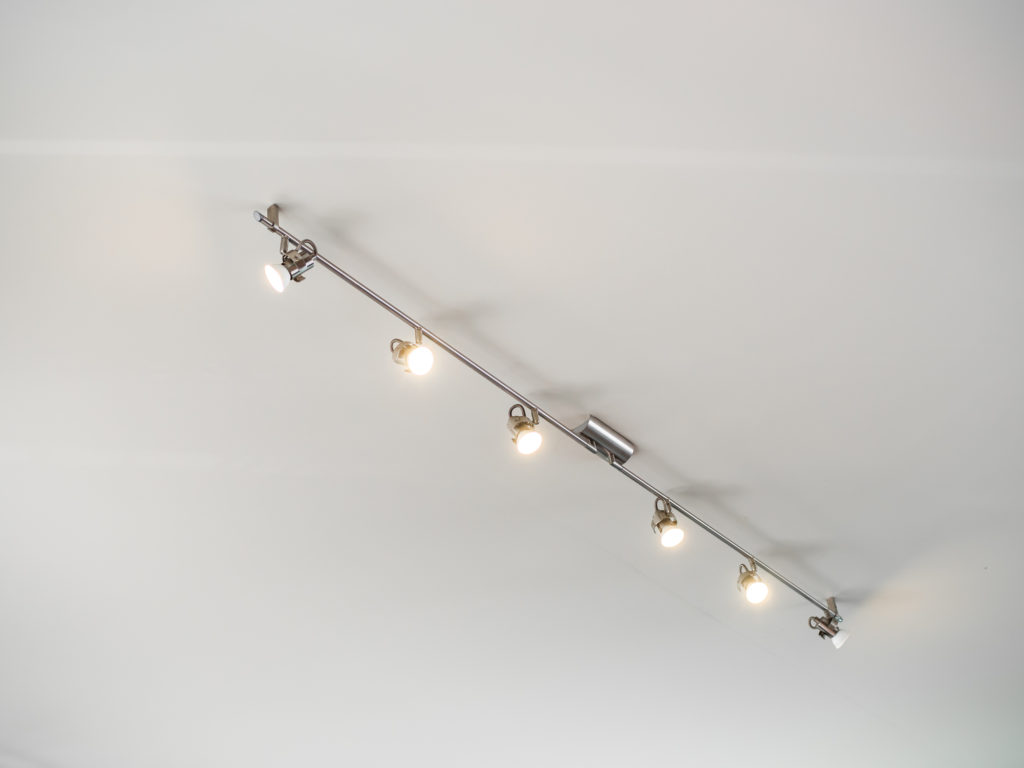
- Track lighting has a minimalistic look and is easier to adjust. They have the same effect as ceiling-mounted light.
- Wall washers focus on lighting up the whole wall. Similarly, a downlight does the same job but from above. These types of lights are a good option if you want to cover a gallery wall with many different art pieces since it lights the wall relatively evenly.
- A picture light is a decorative fixture that can be mounted on the wall around the artwork or on the frame itself. This placement gives a more subtle light and invites the viewer to stand closer to the art.
Remember your electrical requirements. Wherever you place your mountings, you need to power them. When placed in the ceiling, you'll need to run new wiring need to cut holes to expose cables for the connection. Similarly, wall lighting fixtures like a wall sconce or picture light will require new electrical wires within the wall.
7. Light at Different Times of Day
In a room with natural light, protect your wall art with a framed glass. Alternatively, you can choose to hang your wall art in a bookcase to provide shade and control the lighting with its own illumination source.
Keep in mind that your artwork probably doesn't need to be lit every hour of the day. Instead of manually turning the switch on and off, look into fixtures with a built-in timer or photosensor function. Auto-switching based on time or ambient light in the room will ensure your artwork is lit to your liking.
8. Don't Be Cheap
Having good artwork lighting won't come cheap, but it will worth it having good quality lighting. Low-quality light typically has a low-quality output. We need to make sure that the power is well regulated and won't cause fire or other damage.
Low-quality mounting and securing the light are prone to malfunction. So, save up and budget for quality light sources and mounting that will bring your wall art to center stage. And with the right light, it will be well-spent money and add to your already invested art piece. You probably won't feel like you spend too much money when you buy the "right" light instead of the "good enough" light.
9. Do LED Lights Damage Artwork or Cause Fading?
LED lights do not damage artwork or cause fading as long as they produce no ultraviolet or infrared light. Light-emitting diode bulbs have a long lifespan, low profile size, and are an excellent choice for illuminating a piece of art. They are especially good option limited-space scenarios.