It’s hard to find the right way to hang your artwork or poster on your wall without making a mess and damaging the paint. Or is it?
To stick paper on walls without damaging the paint, it is best to use an adhesive designed for the purpose (e.g., strips, putty, or looped tape). Removable post-it notes, magnetic paint, or hook and wire molding hangers can also prevent marking walls. DIY methods also exist.

We’ve put together a list of ways to hang your paper, posters, or lightweight items on the wall without damaging the paint so that you can enjoy your new display worry-free!
| Method | Suitable For | Highlights |
|---|---|---|
| Hooks or Strips -Command Strips/ hooks -Hook and Wire from Ceiling Molding - Monkey Hooks | Great for hanging both lightweight & heavy items | - Command strips/hooks & Monkey hooks don't require any tools. - Monkey hooks as well as Hook and Wire from Ceiling Molding leave small holes in the wall. |
| Mounting adhesive - Mounting Putty | Paper, posters, or lightweight items | Easy to use and reusable. It is not ideal for heavier items, unlike hooks and strips. |
| Tape - Painters Tape - Masking Tape - Washi Tape | Temporary projects | - Painter’s tape is the most expensive. - Masking tape is less expensive, but it leaves residue if not removed. - Washi tape can be left longer than the two without leaving residue. |
| Magnets -Deco magnets -Magnetic Paint | Frameless wall art on smooth walls | - Deco magnets are easier to use than magnetic paint.-Magnetic paint is badly affected by moisture. |
| Sticky Notes -Sticky Notes -Re-stickable glue stick | For holding paper on the wall | Re-stickable glue stick allows flexibility to create your own post-it notes of any color or size |
| DIY -Chewing Gum -Corn starch paste | Glue substitute. | Corn starch paste can only be kept for up to 30 days. |
1. Command Strip or Hooks
Command strips and hooks are made with pressure-sensitive adhesive strips so these products can accommodate different weights and stay securely affixed to various surfaces.
Plus, they use stretch-release technology that makes them not leave any residue or marks behind when you remove them.
Here’s how to use them:
- Start by cleaning the wall surface with a damp cloth dipped in rubbing alcohol to dissolve any oils or residue. Then, let it dry. This will help the command strip adhere better.
- Next, peel off the command strip’s backing (red liner) and apply it to the hook.
- Then, peel off the other backing (black liner of the strip) and apply it to the wall.
- Finally, press the hook onto the wall. Wait an hour before use to allow the adhesive to form a stronghold.
Removal:
Hold the hook in place and slowly pull the strip straight down. The adhesive strip will lengthen and release from the wall. Do not pull it towards you, as this will cause the strip to tear and damage your wall.

Source: Command
Do not use:
- On freshly painted walls, you should wait at least a week.
- Mounting costly artwork.
- On wallpaper.
- Do not hang over the bed.
2. Hook and Wire from Ceiling Molding
This is a century-style method of hanging art. It’s a good option if you’re looking for a semi-permanent solution, and it’s also great for hanging heavier artwork.
To use this method, you need three things: Picture rail, molding hooks, and picture hanging wire.
Here’s how to do it:
- Start by installing a picture rail about 12 to 20 inches below the ceiling. Make sure that it’s level so your artwork will hang evenly.
- Once the picture rail is in place, add molding hooks along the rail. These will act as anchors for your wire.
- Next, cut a length of picture hanging wire and thread it through the molding hook. The wire should be long enough so that the artwork will sit at the desired height when placed on the hook.
The key advantage of hanging art from a picture rail is its flexibility. You can easily lengthen or shorten the wire or cord to reposition the frame.
However, because we need to affix the picture rail to the wall with studs and sturdy nails, this method is not ideal for renters as it will leave some holes in the wall.
3. Monkey Hooks
Monkey hooks are a good option for hanging heavier artwork. They can be removed easily, which is perfect if you are a renter or want to change your décor often. However, be aware that using a monkey hook will leave a small hole in the wall.
Here’s how to use them: Simply insert the hook into the desired location and give it a little twist.

Source: The Frugal Homemaker
4. Mounting Putty
Mounting putty is a flexible adhesive that can be used to stick the paper to walls without damaging the paint. And if you ever want to move things around, mounting putty is easily removable and reusable.
Here’s how to use it:
- Start by kneading the putty until it’s soft.
- Then, take a small amount and press it onto the back of your artwork.
- Next, press the artwork onto the wall. The putty will hold it in place.
Removal:
Remove the putty carefully. Do not pull it off the painted wall surface. If any particles are left, remove them by dabbing the surface with a piece of putty.
Do not use for:
- Sticking items to paper wall coverings, peeling, or newly painted surfaces.
- Mounting costly and heavy artwork.
- Walls that are painted with flat paint.
5. Painter’s Tape
Painter’s tape is an excellent option for hanging posters on walls because it has a low-adhesive backing that prevents it from sticking too tightly to surfaces. This means you can easily remove the tape afterward without any damage.
Most painter’s tapes are packaged in a label with a clean removal claim that lets users know how long the tape can be left up and still removed cleanly. The amount of clean removal time can be anywhere from a few days to several weeks – depending on the tape’s quality and construction. If you know your project will last for a week or two, then painter's tape should work fine.
The main drawback of painter’s tape is that it is more expensive than other tapes.
6. Masking Tape
Masking tape is another option for hanging posters on walls. It is less expensive than painter’s tape and has a stronger adhesive, so it can handle more weight.
However, because it has a stronger adhesive, it is not designed to be removed cleanly from walls. When removed, it will leave a residue similar to removing a band-aid that’s been on your skin for too long.
Masking tape is well suited for short-term projects such as giving your room a one-day party makeover with posters for your kid’s birthday or a one-time event.
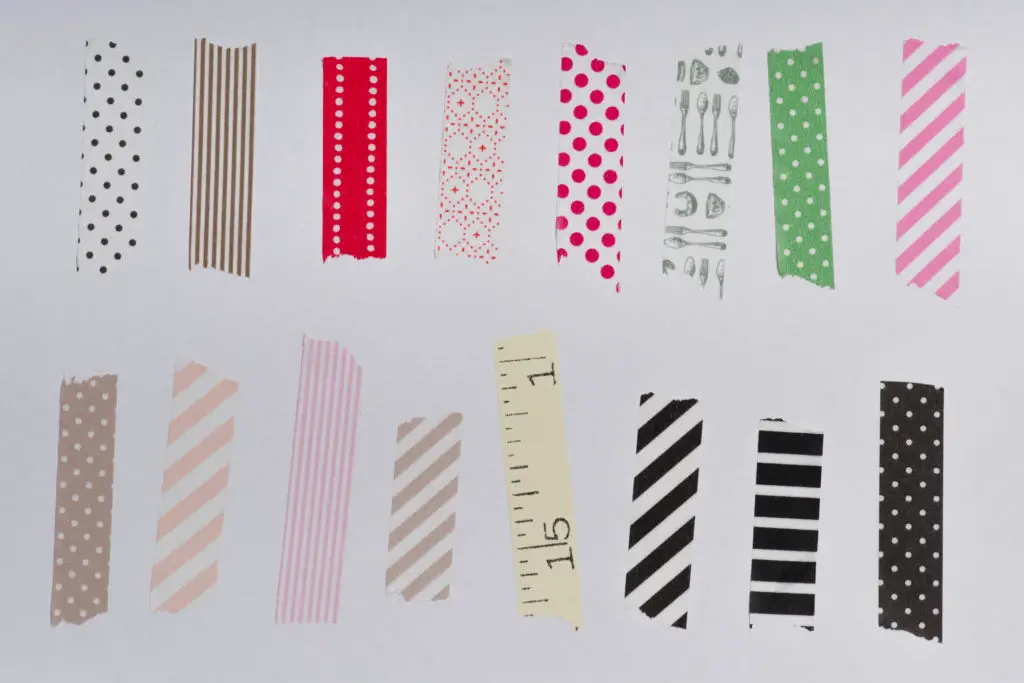
7. Washi Tape
Washi tape is a Japanese masking tape that comes in many colors, patterns, and designs. It is a great option for decorative projects because it is residue-free and will not damage your walls when you remove it.
Additionally, Washi tape is made of natural fibers such as bamboo or hemp, making it environmentally friendly and biodegradable.
8. Deco Magnets
Deco magnets are a way to hang your wall art without using frames. This is a cheaper option that can save you some money.
You put one magnet on the poster and one on the wall. That’s it! When you want to change the poster, take it off the wall and put a new one up. This is great for renters who don’t want to put holes in their walls and lose their security deposits.
9. Magnetic Paint, Ferrous Primer, and Magnets
Magnetic paint is a more laborious approach to giving your walls magnetic functionality.
A magnetic paint or primer is just like regular paint, except it is mixed with tiny particles of iron. When you paint it on a wall, you get a dark primer with many tiny flecks of iron scattered throughout. Magnets (and the posters, photos, and other items they hold) are drawn to these pieces of iron.
Once the magnetic primer is dry, it functions like a regular wall – you can paint, wallpaper over it, and so on. Here is a video that illustrates how different coats of magnetic paint and regular paint affect the magnetic hold.

10. Sticky Notes and Restickable Glue Stick
Sticky notes and restickable glue sticks are a great way to hold paper on the wall without tape or nails.
Sticky notes provide light adhesion when used to hold a paper to the wall and can also be used to write reactions to the displayed piece. You can also make your sticky notes by applying a restickable glue stick (like this one) to the back of any size or color of paper.
11. Chewing Gum
How can you stick paper to a wall without using any glue? One way is by using chewing gum!
Chewing gum has an ingredient called “polyvinyl acetate.” This is also an ingredient that is found in PVA glue. This means that you can use chewing gum as a substitute for glue.
Just take a piece of gum and put it on the back of your paper. Then press the paper against the wall. The gum will act as an adhesive and hold the paper in place!
12. Corn Starch Paste
Looking for a safe and affordable replacement for store-bought glue? Look no further than corn starch paste! It’s cheaper, you can make it with the things in your kitchen, and it’s non-toxic; you know what’s in it.
You can use cornstarch paste for paper projects that require paste, such as pasting a wallpaper.
For one gallon of paste, here’s a quick and easy recipe:
- Sift one cup of cornstarch into a large bowl.
- Slowly pour in four cups of boiling water while whisking constantly. The mixture will become thick and resemble glue as you add the boiling water, so keep whisking until everything is combined.
- Heat the mixture over low heat, stirring constantly, until it becomes clear. Once it’s clear, remove from heat and let cool.
Paste Storage:
You can store your paste in an airtight container in the fridge for up to 30 days. To rejuvenate the reserved paste, add a bit of water and stir until smooth.
5 Ways to Remove Adhesive Residue from Your Wall
Removing adhesive residue from your wall can be a pain, especially if it has been there for a while. The longer the adhesive stays on the wall, the harder it will be to remove it.
That’s why we have put together five tips that should help make the process easier.
| Method/ Mixture | Degree of residue's stubbornness |
|---|---|
| Warm Water with dishwasher detergent | Less stubborn residues |
| Warm Water with vinegar | Less stubborn residues |
| Heat gun | Stubborn residues |
| Coconut oil with baking soda | Stubborn adhesive residue that is also causing discoloration |
| Rubbing alcohol or adhesive remover | Super stubborn residues |
Remember that some of these methods may not work for every type of adhesive residue, so you may need to experiment to find the one that works best for you.
Warm water with dishwasher detergent:
This is the easiest and most common method for removing adhesive residue. All you need is warm water, dishwasher detergent, and a tablespoon of baking soda.
This solution softens the adhesive residue so it can be easily wiped or scraped away.
Warm water with vinegar:
If the dishwasher detergent method didn’t work, or if you don’t have any dishwasher detergent on hand, you can try adding vinegar to the warm water—about one cup of vinegar per gallon of water. Distilled white vinegar, preferably, will work best.
Heat gun:
For tougher adhesive residues, you may need to resort to using a heat gun. Point the heat gun at the residue and hold it until the adhesive becomes soft enough to scrape off with a putty knife or other blunt object.
Be careful not to overheat the wall, as this could damage the paint or drywall.
Coconut oil with baking soda:
Suppose you’re dealing with a stubborn adhesive residue that is also causing discoloration on your wall. In that case, you may be able to remove it by using a mixture of coconut oil and baking soda. Mix equal parts coconut oil and baking soda to form a paste, apply it to the residue, and let it sit for some minutes. Then, use a sponge or cloth to scrub away the residue.
Rubbing alcohol or adhesive remover:
If all else fails, you can try using rubbing alcohol or an adhesive remover.
Apply either one of these directly to the residue, and let it sit for a few minutes to soften the adhesive. Then, use a putty knife or other blunt object to scrape the residue.
Adhesive removers can be harsh, though, so test them on a small area of the wall first to ensure they won’t damage the paint or drywall.
Clean the Walls:
Once you have removed the pesky adhesive residue from your wall, wipe the cleaning solution off with a clean, damp cloth. Warm water should do the trick.